Joining technology QM:
Increase product quality, reduce costs!
Predictive quality management in component production: How to minimize rejects and inspection costs in one step!
Quality assurance in joining technology can easily become a cost driver. Especially with more complex products such as household appliances, vehicles, machines or wind turbines. The number of joints can quickly reach four to five figures. But that’s not all: as quality-relevant information is generated at a wide variety of levels, the number of data relationships that need to be monitored is growing exponentially.
Regardless of this, you need to evaluate the data throughout the process. If possible, even with foresight. This requires a 100% valid database. Our joining technology QM software solution manages the necessary integration work. You receive appropriately aggregated data fully automatically, which our software evaluates in real time. What’s more, if the analysis reveals deviations, Joining Technology QM offers standard-compliant workflows for prompt error handling. This significantly reduces the risk of production rejects or rework.
Advantages of our joining technology software for component production

Functions of the joining technology QM
Focus tests
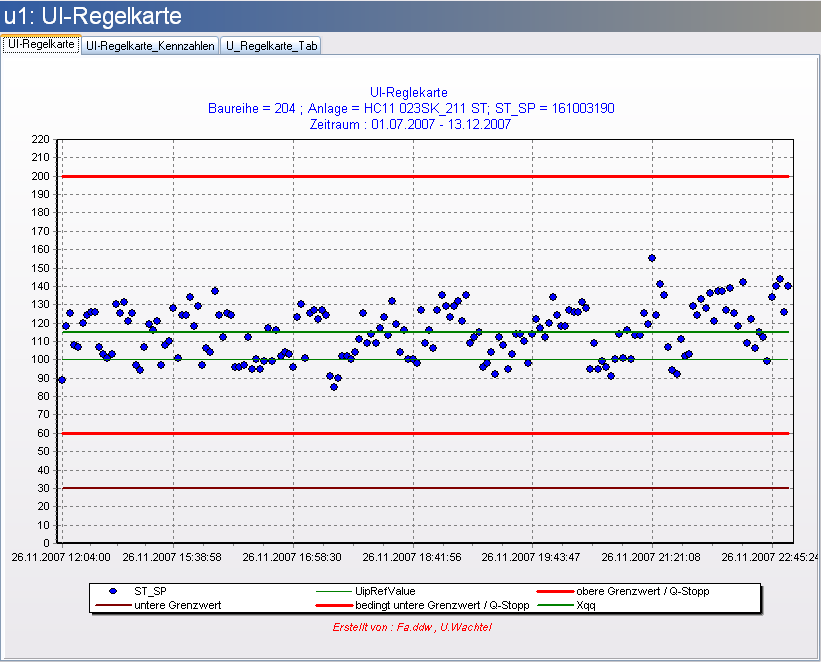
In many places, the majority of inspection work is carried out on joints where no anomalies can be detected. Our algorithms reliably filter out these measuring points. This is made possible by the continuous comparison of the QM-relevant master data with the process data from the store floor. As a result, the inspection plan focuses exclusively on those joining points where the probability of defects is high enough to justify an inspection order from an economic point of view. Especially for more complex components with hundreds or even thousands of potential measuring points, this procedure leads to a significant reduction in costs without jeopardizing the quality of the products.
360-degree view of the quality of your joining processes
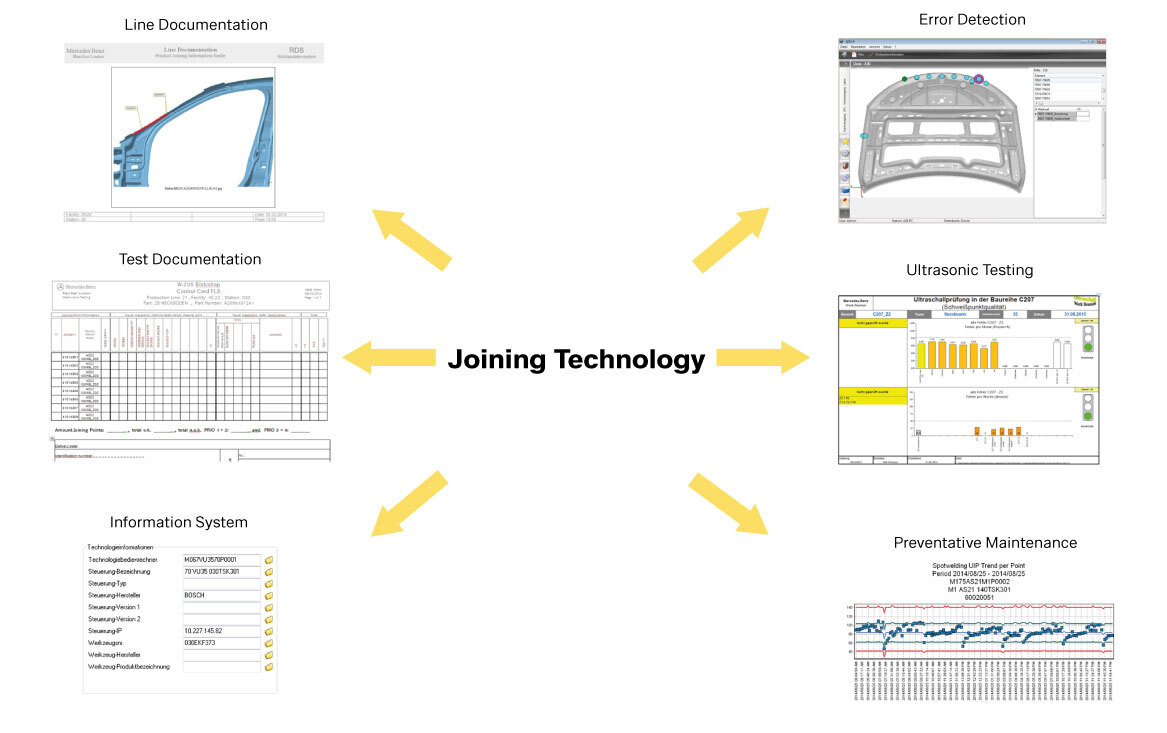
Our joining technology software links the data from your assembly and inspection technologies. The system compares the resulting actual data with the master data of the underlying specification. This creates a comprehensive data matrix that you can use to manage the quality of your joints along the entire value chain. If any anomalies are identified, our software creates customized inspection plans to rule out any deviations or detect them as early as possible. If the results of the tests are positive, the system starts standard-compliant workflows to rectify faults and monitors that the throughput times of the measures are kept as short as possible.
Dashboards with control station function
Joining technology QM provides a massive relief for your test engineers. Instead of compiling the data themselves and evaluating it manually in various expert systems, they can concentrate on qualifying the proposed measures from our QM system and following them up in compliance with standards. The necessary overview is provided by dashboards, which can also be used to initiate the necessary follow-up processes. Among other things, suitable test methods can be selected and started automatically (including the programming of the test devices).
2D visualization of the place of use
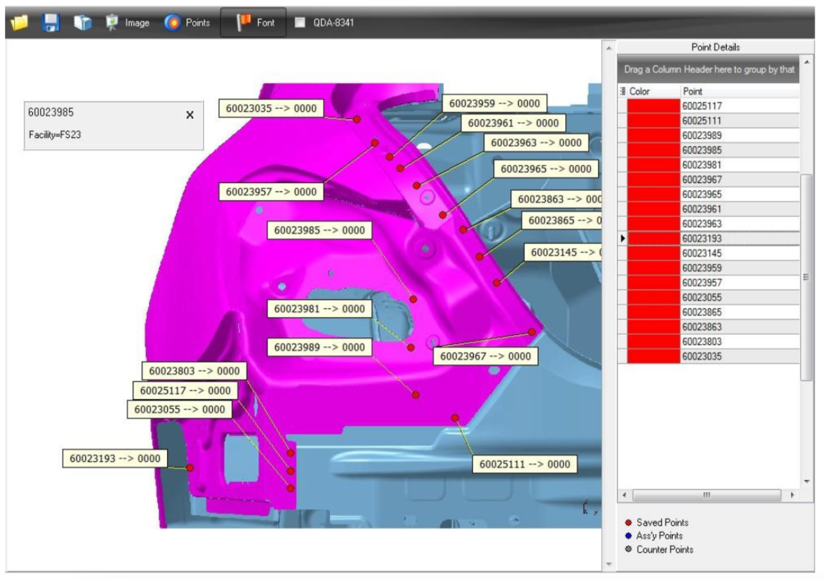
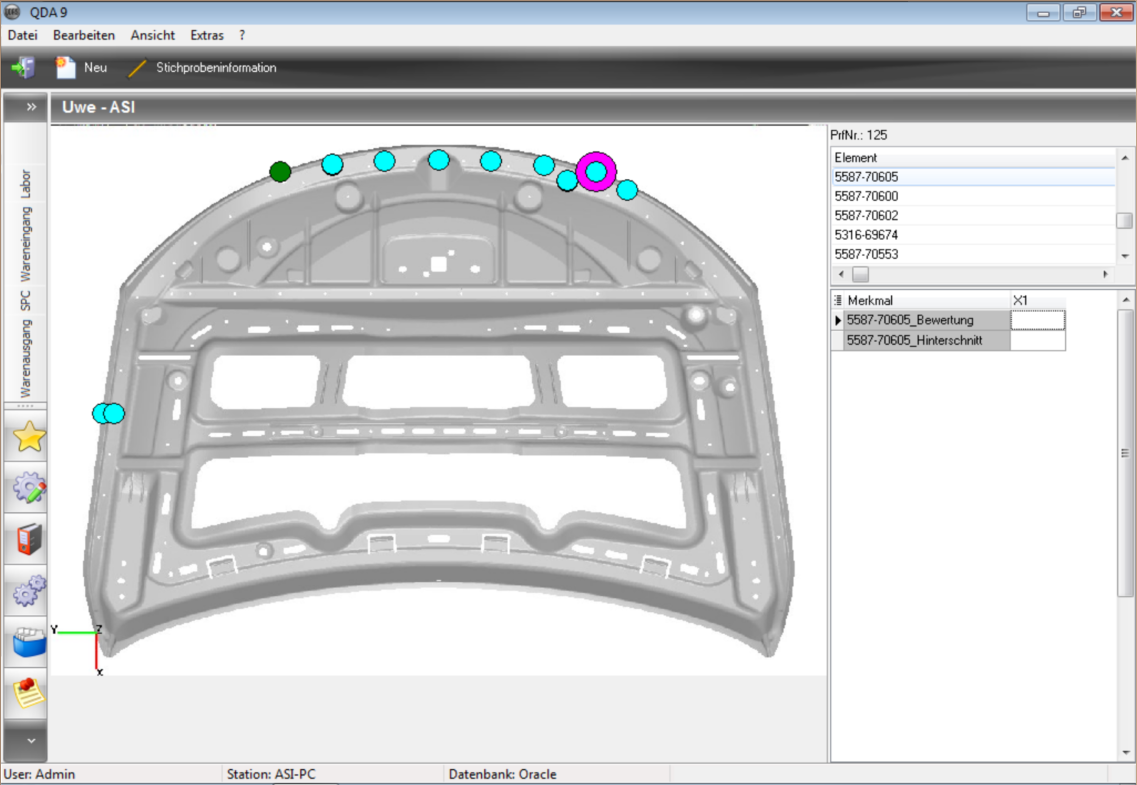
To do this, we break down the complexity of the underlying 3D model to the current work order. Using so-called MIBA technology, the 3D position of the potential damaged area (e.g. a spot weld that appears to be defective) is transferred into a 2D image that is much easier to understand. The 2D images take the place of Excel lists in which the joints to be processed have to be laboriously described. Despite their high maintenance costs, such workarounds are still common practice in many places. Thanks to 2D visualization, considerable costs can be saved and process reliability massively increased.
Integration of joining technology QM into your IT
In terms of infrastructure, you have complete freedom of choice. You can use our software either on your own servers (on premise) or as a SaaS solution in the private, hybrid or public cloud. If you are a user company looking for maximum scalability, availability and data security, we recommend using technology-leading cloud hyperscalers such as Amazon, Azure, Google or the German provider Ionos.
Our system architecture enables bidirectional integration of your entire system environment. The data exchange ranges from the master and order data of your CAD, PDM, ERP and SCM systems to the process data of machine control and robotics through to the connection of your measurement technology. Our software offers several hundred interfaces to all common machines used for SPC software for manufacturing, so that inspection plans can be loaded automatically and measurement results can also be read out automatically. And: In many component manufacturing processes, a large proportion of the data to be included comes from assembly suppliers. The open system architecture of our solution allows you to integrate your partners into the data management system via secure Internet connections in line with their roles.
What does quality management in joining technology mean?
Definition
In component manufacturing, the joining of individual parts is one of the most important production techniques. From a quality assurance perspective, this results in a wide range of dependencies that industrial companies must master in compliance with standards. It is also important to keep an eye on costs. Depending on the end product, the number of possible measuring points is in the four- to five-digit range. Complete testing would not be economically viable. Instead, it is important to limit the inspection work to the minimum actually required.
What tasks does a suitable software system perform?
Specifically, the core challenge is to concentrate the inspection jobs on precisely those joints where anomalies are already detected during the production process. Suitable QM software brings together the corresponding master, process and measurement data in such a way that it can be evaluated automatically. The aim is to create an inspection plan that is geared towards the really relevant risks. If the subsequent inspection processes then actually reveal a specification deviation, the necessary countermeasures in joining technology QM can be consistently planned, controlled, monitored and documented.
What should QM solutions in joining technology be able to do?
Quality management in joining technology is first and foremost integration work. A suitable software solution should therefore be designed to be platform-neutral. Only then is its architecture open enough to connect the company’s existing measurement technology as well as the order planning and control systems at minimum cost.
To ensure that all process participants can access the software regardless of the end device, the use of role-specific dashboards is recommended, which can be adapted to personal tasks in the QM process without programming knowledge. The dashboards inform users about currently pending inspection orders and quality defects that have already been identified. Possible follow-up steps can be initiated directly from the dashboard and monitored and documented until they are completed in accordance with the standards.
Who benefits from the use of joining technology software?
In principle, everyone in the value chain who relies on correctly executed joints. The permanent comparison of the target/actual parameters limits the time between clarification and error correction to a minimum. Any necessary reworking or adjustments to the production process can be carried out at minimum cost.
The joining technology QM integrates the necessary users according to the requirements of the current test orders in a role-specific manner. The users are relieved of their workload: They only receive the information and control options that they actually need for their personal tasks.
The responsible managers, for example production managers, product managers or quality officers, can see where the current inspection orders and possible complaint processes stand at any time. Aggregated evaluations can be used to analyze any focal points of errors and promptly rectify them as part of a continuous improvement process (CIP). Last but not least, IT managers also benefit, as the integration of the different IT/OT environments can be largely automated.
Get in touch!
Would you like to know more about our solutions? Then please write us using the contact form. My colleagues and I look forward to exchanging ideas with you.

Jens Seemuller
Sales Executive


